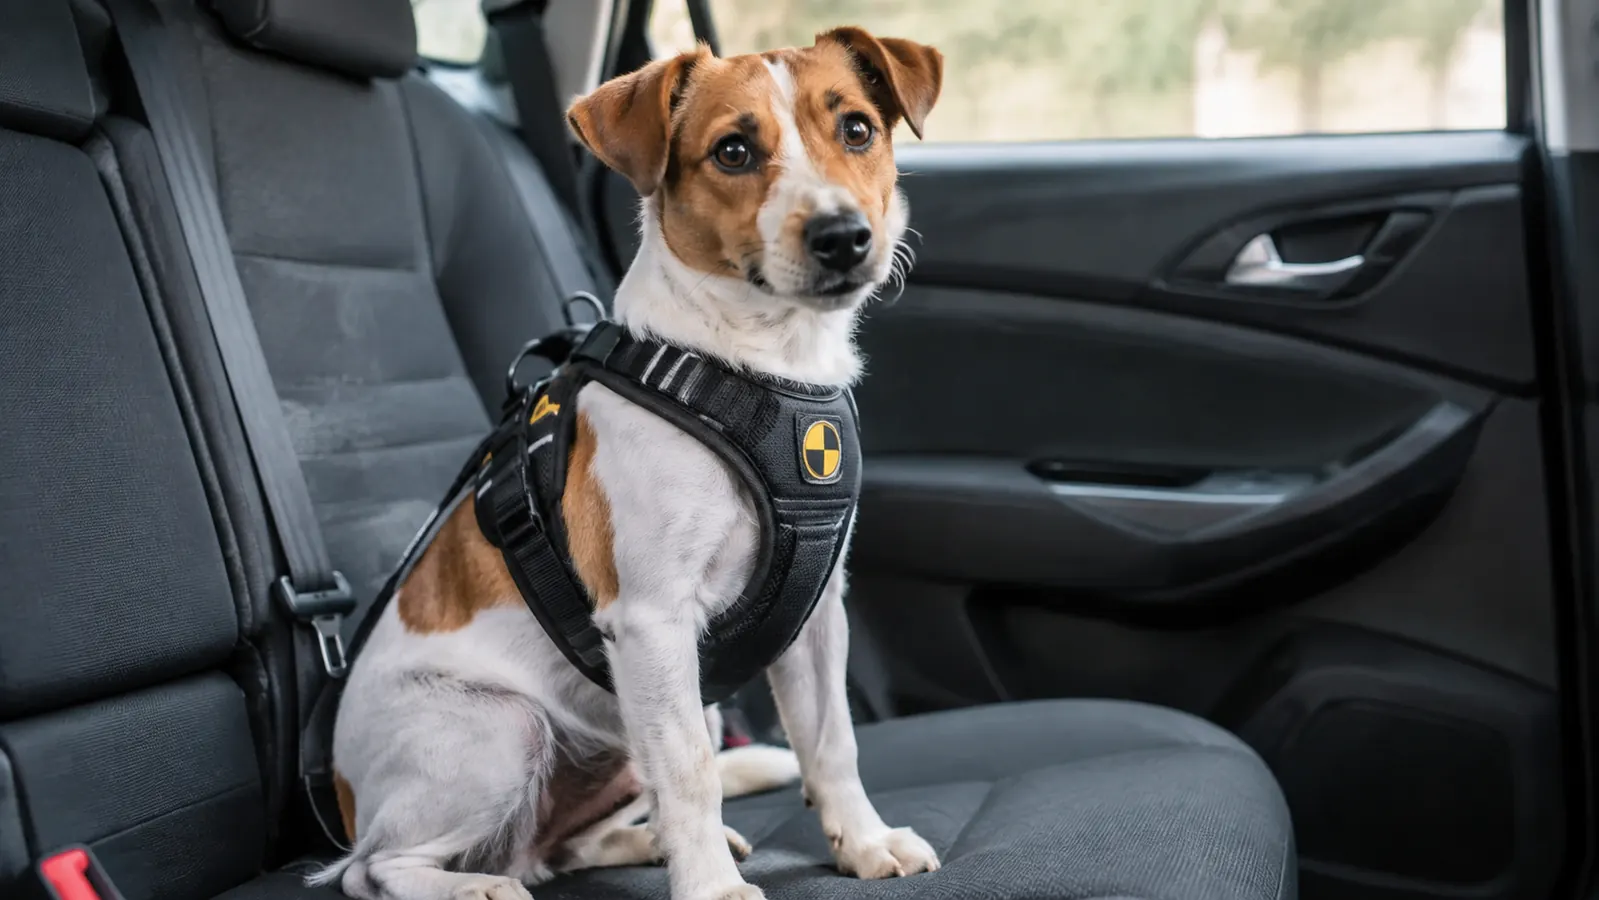
I used to think any harness that clipped into a seat belt was enough. Then I watched Poppy slip half out of a cheap walking harness on the way to the vet. She is eight pounds. We were going twenty-five miles an hour. She did not get hurt, but she wiggled out from under the chest strap, and I spent the rest of that drive with one hand on the leash and one hand on the wheel. That was the morning I stopped trusting any harness that happened to have a clip and started asking what it was actually tested to do.
The answer was a crash-tested harness with a proper belt path and straps that stay where you put them. I use the Kurgo Tru-Fit for both of my dogs, Biscuit and Poppy, not because it is the only option, but because it is the one I know how to fit right. This guide is the exact process I follow every time we travel, whether it is a 15-minute trip to the groomer or a two-day drive from Texas to Colorado. If you are new to securing a small dog, start here and take each step slowly.
A crash-tested harness for your small dog
The Kurgo Tru-Fit is the harness I use for both Biscuit and Poppy. It comes in sizes for dogs as light as five pounds, and the instructions are easy enough to follow on a kitchen floor. Check today's pricing and size chart before you measure.
Amazon Check today's price on Amazon →Step 1: Weigh your dog and measure the widest part of the rib cage
Do this before you buy anything, and do it again before every long trip. Bathroom scales work if your small dog will hold still, but I use a kitchen scale for Biscuit. He is a 6-pound Yorkie and a half-pound difference changes which size of harness sits correctly. Poppy, who is 8 pounds, can wear the same size small but only after I check her girth. Small dogs lose and gain weight quickly, especially during a change in seasons, so what fit in March may not fit in September.
Use a soft cloth tape measure and wrap it around the widest part of the rib cage, just behind the front legs. Keep the tape snug. Write the number on your phone. Then compare it to the size chart for the exact model you are considering. Do not go by weight alone. A stocky 8-pound dog and a slim 8-pound dog need different chest measurements, and a harness that is too tight across the chest will rub, while one that is too loose can slide down toward the belly.
When Poppy is between sizes, I size up and tighten the straps. A crash-tested harness has to spread force across the dog's chest in a sudden stop, and if the chest pad is sitting on the throat or the shoulder, it cannot do that job. Her girth measures about 14 inches, which puts her in the Kurgo small for the Tru-Fit. Biscuit is closer to 13, and he recently moved from the extra small to the small when he filled out after turning nine.
Step 2: Fit the harness in the house before you open the car door
You cannot do this well on a driveway with a dog pulling toward the door. I loosen every strap, lay the harness on the floor, and let Biscuit come to it. He does not like anything coming over his head, so I bring the harness from the side. Poppy is bolder and will step into almost anything, but she weighs only 8 pounds and will back out of a loose harness if she decides she is done. Doing the fitting in the house gives me time to work without worrying about the garage door or the heat.
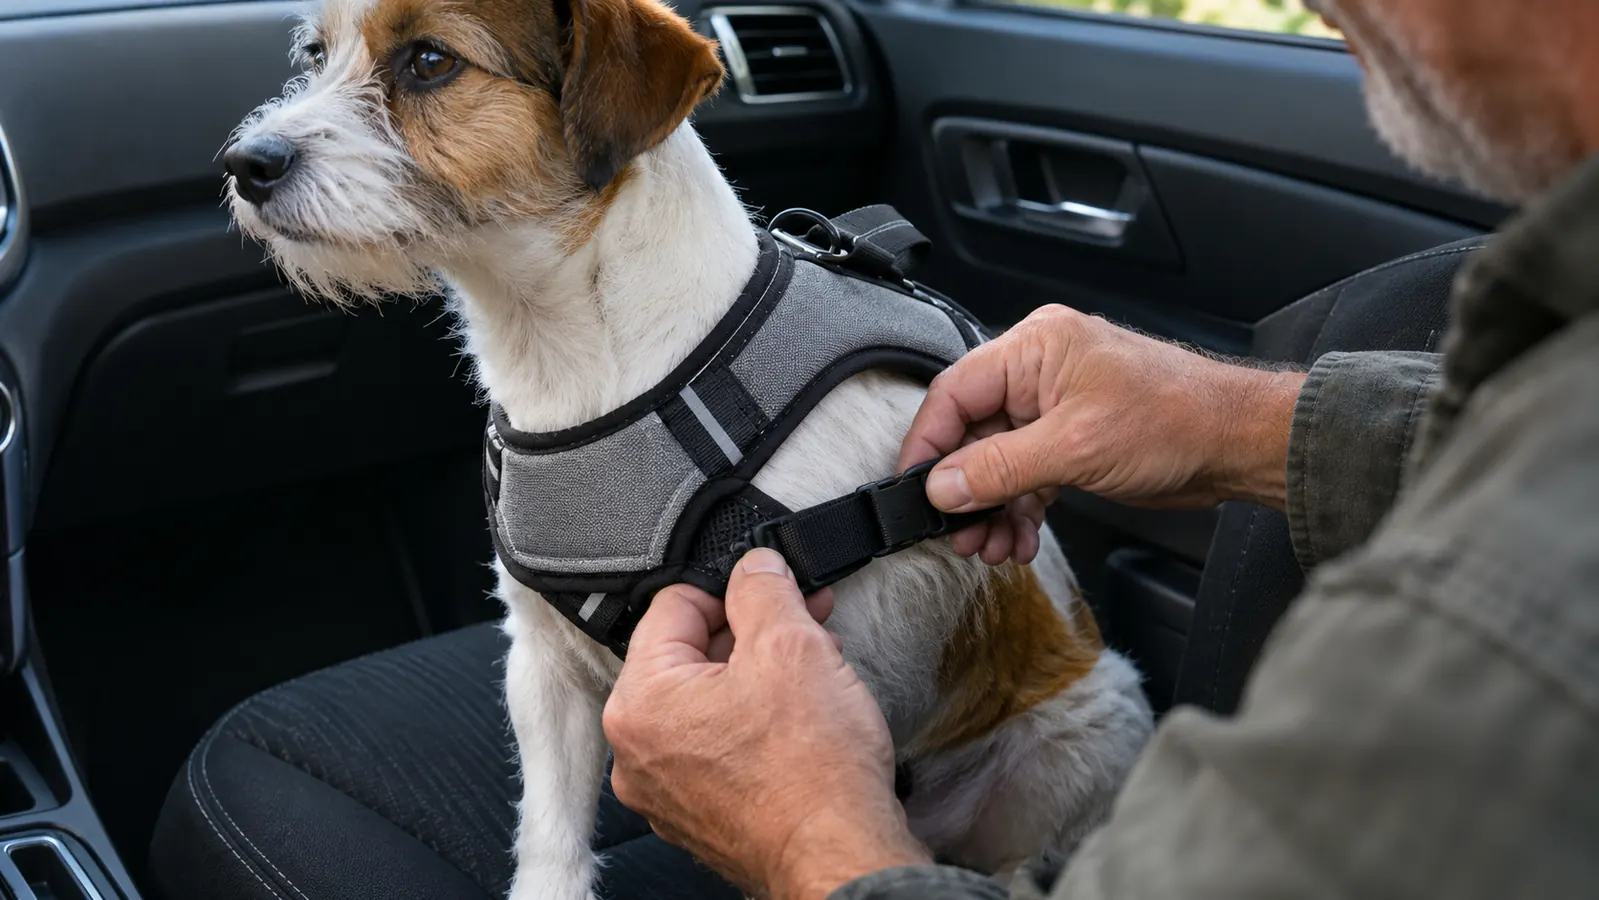
Slide one front leg through the opening on each side, then bring the buckles up and fasten them. The center of the chest pad should sit on the breastbone, not up on the throat and not down between the front legs. You should be able to slide one finger, maybe two, between the strap and your dog's chest. If you can fit a whole fist, the harness is too loose. If you cannot fit a pinkie, loosen it before you ever start the car.
Then look at the harness from the side. It should not twist around the neck or tilt to one side. Stand behind your dog and see whether the back strap sits flat between the shoulder blades. I check it once, then I attach the walking leash and lead my small dog around the house for two minutes. That lets the harness settle into place. Most fit problems show up in the first few steps, not in the first mile.
Step 3: Read the car instructions and attach to the seat belt, not a headrest
This is where most walking-harness-in-the-car setups fail. A plastic clip on the back of a walking harness is not a crash anchor. Your seat belt needs to go through the crash-rated belt path built into the harness, or attach to a crash-tested tether that came with it. For the Kurgo Tru-Fit, I keep the folded manual in the door pocket of my CR-V. On the day I bought it, I sat in the back seat and read the diagram while holding the actual harness in my lap.
The general rule is simple: route the lap belt through the designated car slot on the harness, then buckle it the same way you buckle a passenger's belt. Pull the belt so it lies flat and has no twists. The belt should sit below the dog's neck and above the elbows, and it should not bend around the front D-ring that is meant for a leash. If you are not sure which opening is for the car, the manual will show you, and the harness itself will usually have a tag marking the belt path.
Small dogs belong in the back seat, never the front. The Center for Pet Safety crash tests, and the instructions that come with every crash-tested harness, all point to the same truth: a deploying airbag can injure a small dog even in a properly fitted harness. I have driven a 2019 Honda CR-V for five years, and both Biscuit and Poppy ride in the back, on the passenger side, where I can see them in the rearview mirror without turning around.
Step 4: Do a parked-car test before the first real drive
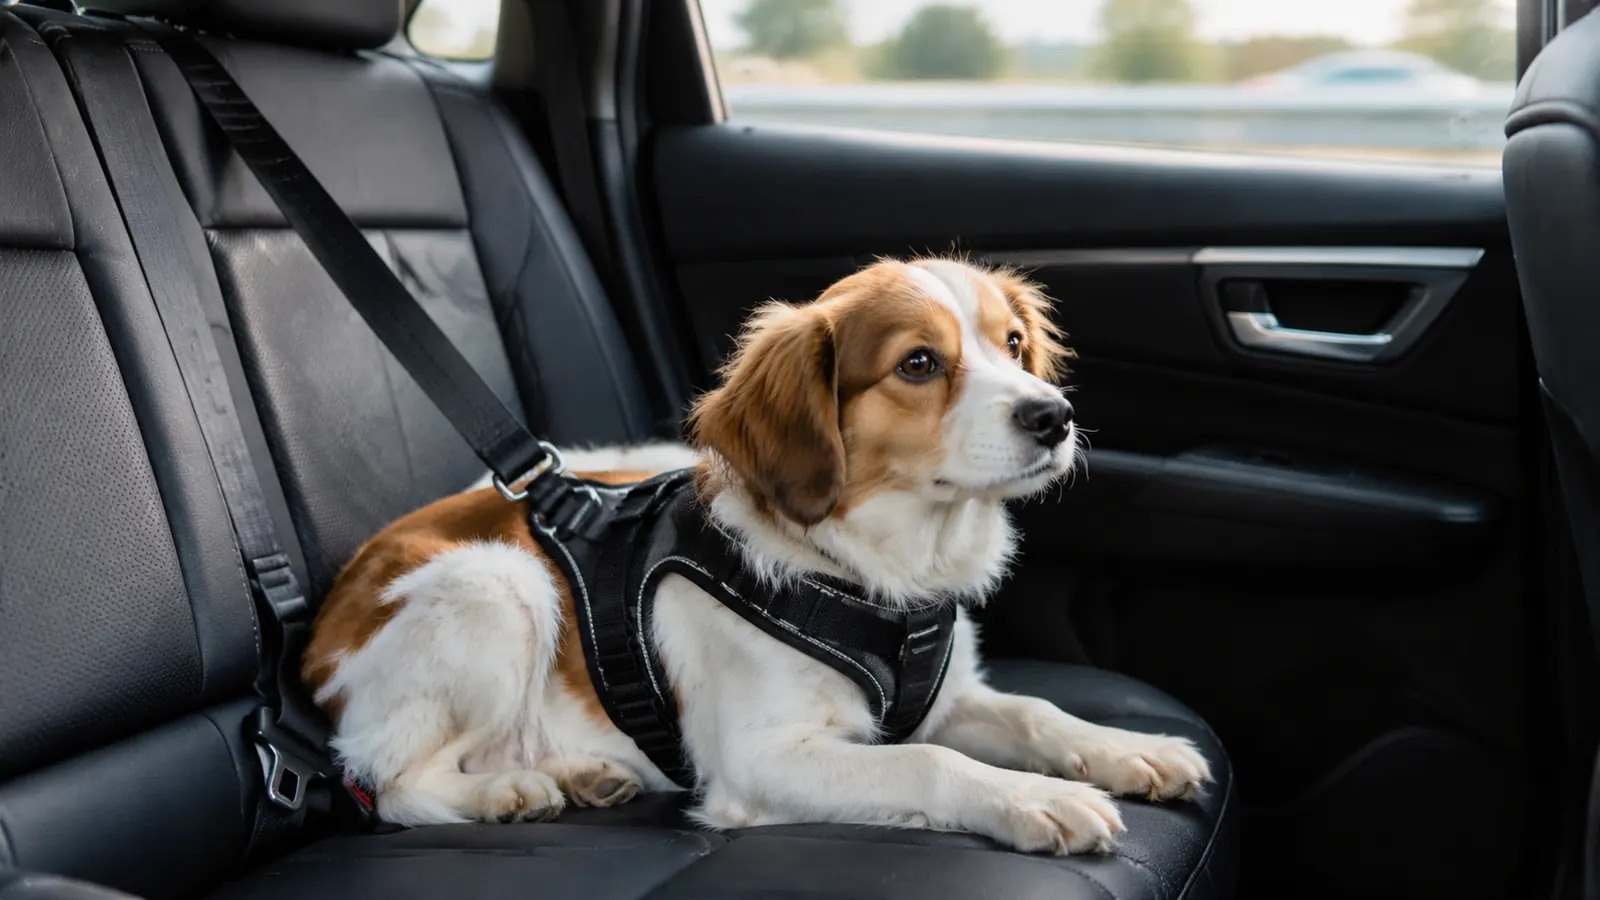
The first time I used a harness in the car, I clipped it in, buckled it, and assumed we were ready. The second time, I parked in the driveway, got in the back seat with both dogs, and actually tugged on the harness. That test found three issues: the lap belt was twisted, the chest pad had ridden up half an inch, and Biscuit had worked a front paw partway out. None of those was visible from the driver's seat. Ten minutes in a parked car caught all three.
Sit next to your dog and try to pull the harness backward, toward the rear of the vehicle. If the dog can slide forward more than a couple of inches, the belt is not tight enough. The dog should be able to stand, sit, turn around, and lie down, but not scramble over the seat or reach the floor with both front feet. If your harness has a bottom clip, make sure the clip is not jammed under a seat belt buckle. Small dogs are small enough to slip into gaps you do not notice until the car is moving.
Run this test when the harness is new, after it has been washed, and at the start of any long road trip. I also do it in the evening. A harness that fits in the morning can feel different after a dog has been panting in warm weather, and the one-piece foam in the Kurgo line tends to soften and mold as it warms. This is repetition work, but it is exactly the kind of repetition that keeps a six-pound Yorkie in his seat rather than on the floor under the brake pedal.
Step 5: Take short shakedown drives before you attempt a highway trip
The first drive with any new setup should be short, boring, and close to home. I put Poppy in the new harness and drove five miles to a coffee shop. She whined for the first two minutes and then settled. On day two we took a ten-minute loop on a service road. By day four she was lying down on the seat with her head on her paws, which is her way of telling me the harness no longer feels like the enemy.
Use the same seating location every time. For us that is the passenger side of the back seat in the CR-V, because the lap belt reaches the harness cleanly and I can keep an eye on both dogs. If your small dog rides in a crate or a booster seat, the harness still needs to connect to the vehicle's seat belt or LATCH system, not to the crate handle. If you use a booster, do not assume it is crash-tested; most soft-sided boosters are for visibility, not crash protection.
On long drives, stop every two hours. Unclip the harness, let your dog stretch and get water, then put it back on and re-check the fit before you pull away. A dog that has been dozing can wake up puffy or stiff, and the chest strap can shift while the dog is lying down. When you reach your destination, inspect the harness for wear along the belt path, especially if you have done any hard braking. Any fabric with frayed edges or a bent buckle should be retired, no matter how new the harness looks.
What Else Helps
A crash-tested harness does its job only when it is paired with the right car habits. I leave the walking leash clipped to the harness while we are outside, but I take it off or tuck it into a pocket before we drive. A long leash flopping around the back seat can travel under the seat and get in the way of the seat belt latch. I also keep the floor clear of toys, water bowls, and bulky jackets, because objects in the footwell can slide into the area where your seat belt anchors.
I keep a lightweight cotton blanket on the back seat under both dogs. It gives the harness belly strap a little more traction on the leather, and it can be pulled out and washed when Poppy drools or Biscuit gets car sick. If your dog is prone to car sickness, keep the harness a bit snugger than you would for a walk and avoid feeding a big meal in the two hours before you leave. That is the advice our vet gave me, and it made the first hour on I-35 far less messy.
Finally, replace any harness that has been through an actual accident. Crash forces can weaken webbing and buckles even when the harness looks intact, and no amount of sewing will bring the strength back. Keep your receipts and set a reminder to inspect the stitching before big trips. Manufacturers usually recommend replacing after a collision, and your dog's body is worth more than the cost of a new harness.
Practice a few hard stops in an empty parking lot during your shakedown week. Find a patch of asphalt that is clear, get up to about fifteen miles per hour, then brake gently at first and more firmly on later passes. You want to feel how much your dog moves inside the harness. If his body slides forward more than an inch or two, stop and tighten the belt path. I did this in an empty community college lot near Round Rock, and it showed me why a harness with a low rear anchor feels different from one that attaches to a headrest.
Also, think about how you will get the dog out in an accident. A small dog can slip through a gap in a damaged car door faster than you expect. I keep a short traffic leash clipped to my key ring in the door pocket, and I always unclip a panicky dog from the harness before lifting her out, because pulling a frightened dog by the harness can make her twist and hurt herself. Calm words work better than force with a Yorkie, and a second pair of hands from a passenger helps.
One final thing: do not skip the annual vet check for your small dog's chest. A crash harness presses on the sternum, and a dog with a healing rib injury or a heart condition should ride in a harness only with veterinary approval. Our vet checks Biscuit's joints every spring and tells me which days to keep his harness looser.
A harness that fits on the kitchen floor can shift before mile one. The five-minute check in a parked car is what catches it.
Ready to fit your small dog properly?
The Kurgo Tru-Fit gives both my dogs a secure seat belt path and an easy fit routine. Find your size with a tape measure, then use the steps above every time the harness comes out of the wash.
Amazon Check today's price on Amazon →