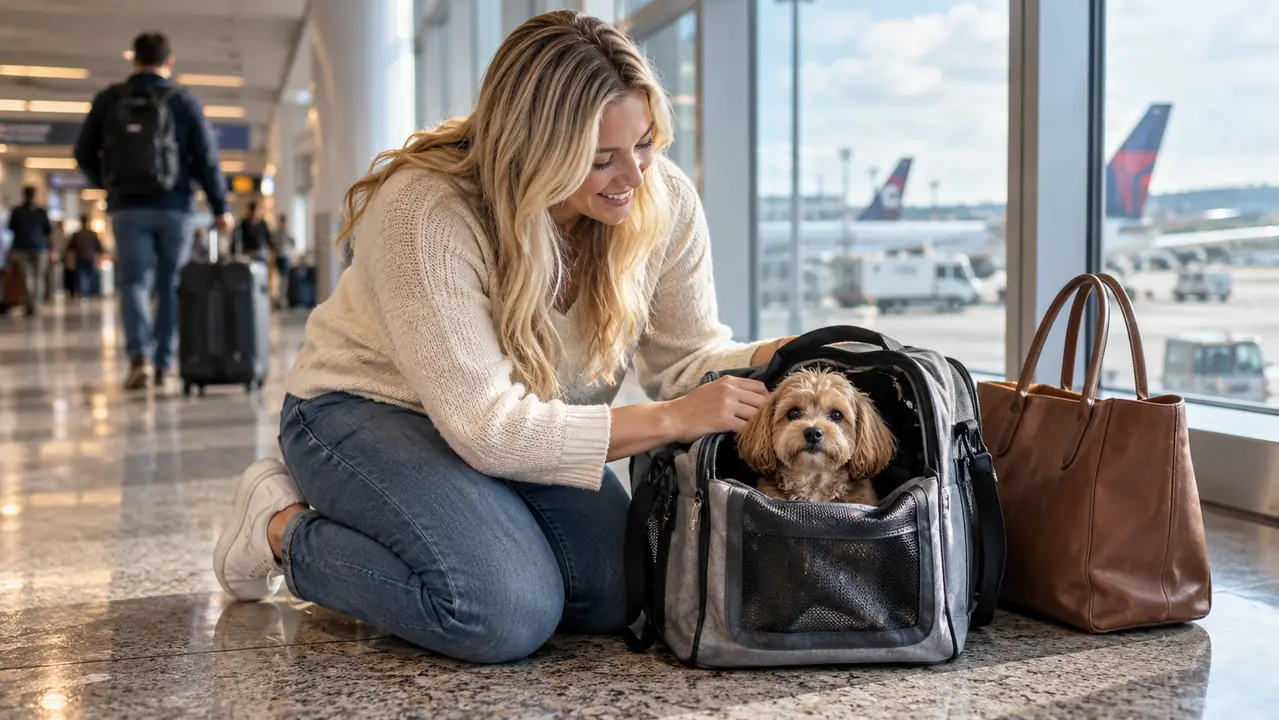
Every pet owner who flies has the same twenty-second test. The flight attendant stops at your row, points at the carrier on the floor, and says, "Push it under the seat, please." You push. The carrier does not move. It jams against the metal support frame under the seat and now there is a line of people in the aisle behind you, waiting to sit down. The people are not looking at the seat. They are looking at you, and they are not sympathetic.
Nobody else cares about your carrier fit in that moment. I learned this on a flight with Poppy, my 8-pound Yorkshire Terrier. Poppy is bold, and I had packed her carrier the way I might pack a weekend bag. The carrier was a couple of inches too tall to slide into the footwell, and I felt every pair of eyes in the row while I tried to make it work. I was not going to put a dog in the overhead bin, and I was not going to miss the flight. Since then I have flown with the Henkelion pet carrier, a soft-sided model made for dogs up to 15 pounds, and that carrier has fit under the seat on every single flight. The carrier earns part of that success. The routine I use earns the rest. Here is the routine in the order that matters.
The Carrier I Use Under Economy Seats
Henkelion makes the carrier I reach for when I fly with Poppy. It has a wide mesh panel on the side, a low profile when packed flat, and fabric that gives a little as you slide it under the seat. You still need the test fit below, but this is the carrier I have tested on more than a dozen flights.
Amazon Check the Henkelion Carrier on Amazon →One note before the steps. This routine assumes a soft-sided carrier and a dog small enough to ride in the cabin. A hard-sided crate will not flex, and forcing an oversized carrier under a seat is not fair to your dog. If the carrier is too big, your answer is a smaller soft carrier, not a stronger push.
Step 1: Find the Exact Space Before You Find the Seat
The first mistake is measuring your carrier against the bag sizer at the airport. That plastic frame tells you if the carrier will fit in the overhead bin or in the airline personal item gauge, but it does not tell you what you will meet below the seat in front of you. Under that seat there is more than open space. There is a metal frame that supports the seat, a tray table mechanism, sometimes an inflight entertainment box and its cables, and a layer of carpet. The carrier has to pass through all of that, and the sizer does not know any of it exists.
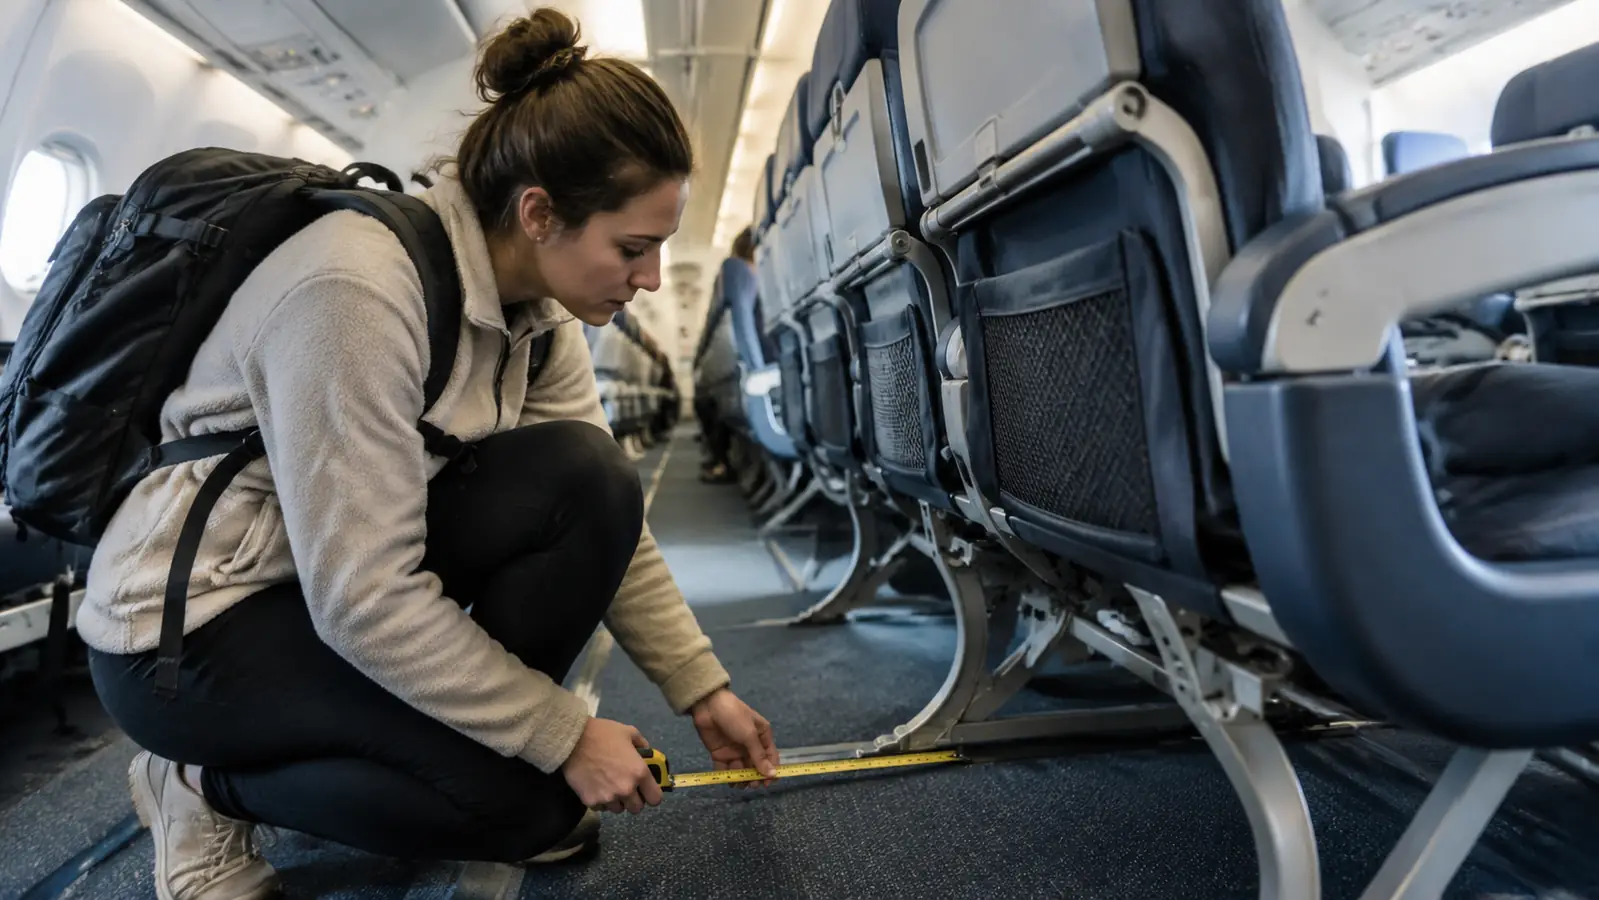
The number that matters is the height of the opening from the cabin floor to the lowest part of the seat frame. Look it up before you book. Your airline seat map shows the plane model, and independent seat databases include approximate under-seat dimensions for each row. On a regional jet I have seen the opening shrink to eight inches. On a larger narrow-body the same opening can be nine or ten inches. If the under-seat height is eight inches, you need a carrier that is closer to seven and a half inches once your dog is inside.
Do not trust the dimensions printed on the carrier tag. Those dimensions are measured when the carrier is empty and flat. The moment Poppy steps in, the walls bulge and the top rises because she is moving and breathing. The moment I add a pad and a blanket, it is taller still. That is why my first step is always to write the seat opening on my phone and keep it in front of me while I pack.
Step 2: Test It Under a Piece of Furniture at Home
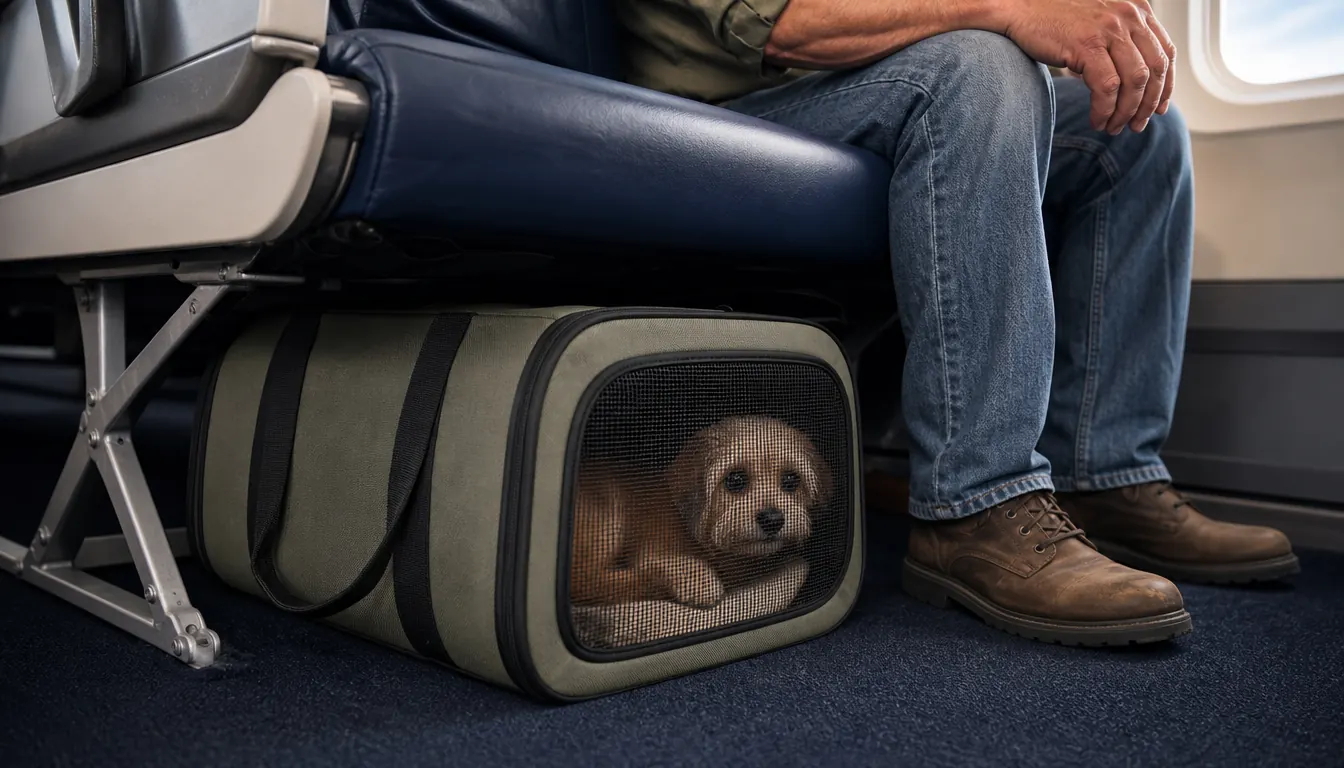
Nobody should meet that opening for the first time at row 19. Even a rough home test tells you more than any product photo. Find a low piece of furniture in your house, a sideboard, a desk, or a table with enough room to slide a carrier underneath. I use a sideboard because the clearance is close to the space under a middle seat. Pack the carrier exactly as you would on travel day, put your dog inside, and then slide it under the furniture. Watch where it stops. If it will not slide without force, you have found the problem while you still have time to change carriers or change your packing.
Do the test twice. On the first pass, leave the front pocket empty and see if the carrier slides under. Then load the pocket with your dog travel extras and slide it again. The difference will tell you how much bulge that pocket creates. A small load is usually fine. A full pocket will push the base out and make the carrier catch just before it is fully underneath. This test takes ten minutes and has saved me from a dozen gate conversations.
While the carrier is under the sideboard, keep an eye on your dog. Does she lie down? Does she circle and bump her head? If she paces, she needs more time inside the carrier at home, not a different carrier. She will behave the same way on the airplane, only louder. I zip Poppy in for a few minutes every day for the two weeks before a flight, and doing that has made more difference than any measurement I have taken.
Step 3: Pack the Carrier Flat, Not Cozy
The hardest habit to break is packing the carrier like a crate. At home my dogs have a padded bed, and it is tempting to make the travel carrier just as comfortable. But the cabin floor is warm under the seat, and a small dog does not need a mattress on an airplane. A thick pad raises the dog, and the raised dog raises the top of the carrier. I found this out when the carrier I was about to take on a flight stood almost two inches taller than its empty measurement.
The arrangement that fits starts at the bottom. Put one flat, disposable absorbent pad on the carrier floor. Lay one thin layer of fleece or a flat towel over that. Then put your dog on top. That is it. If it feels too thin, remember that the flight is a few hours, not a week of camping, and the carrier already has a padded floor. The goal is not luxury, it is low, and low is what gets you a smooth takeoff with a dog under the seat.
Keep the top of the carrier empty. If your carrier has a top pocket or a rear pocket, do not fill it with a round object. Round objects are the enemy of a clean fit because they bulge into the space that needs to flex. I keep a flat packet of treats and a folded waste bag in one pocket. Everything else, my water bottle, her leash, a spare collar, stays outside the carrier. When the top of the carrier is empty, the soft fabric can give an inch or two when you press it.
A soft-sided carrier only flexes where nothing hard is packed. Keep the top empty and the base thin, and the seat frame will do the rest.
Step 4: Practice Settling in the Carrier for Two Weeks
I cannot say this enough: a calm dog is a shorter carrier. If your dog stands with her head up to see over the mesh, every inch of that height becomes the carrier height when the flight crew looks at it. A dog that stands on her hind legs or leans against the window will make the carrier seem too big no matter what brand it is. Under the seat, there is no room for that. The behavior you are training is to lie down when the carrier zipper closes.
Start a couple of weeks before the trip. In the kitchen or living room, open the carrier and put treats near the door. Let the dog step in and out without a fuss. As soon as she is relaxed, say "down" and close the zipper for just a few seconds after she lies down. Build up over a week so that being zipped inside no longer makes her want to climb out. By the day of travel, she should associate the carrier with being still and getting treats.
If you have a dog like Poppy who likes to see you, use the mesh window. The Henkelion carrier has a large mesh side that lets her look out without lifting her whole body. When Poppy can see me, she settles right away. When she cannot see me, she complains and tries to turn around. So I make sure the mesh side faces the seat, and I board calmly, because she reads my mood before she reads the carrier.
Step 5: Fit It at the Row Before the Crew Asks
You will have a moment at the row no matter how much you practice. The aisle may be tight, the seat may be lower than the one at your sideboard, or the person in front may have reclined into your space. Do not panic. Set the carrier on the floor and kneel next to it. Slide the carrier forward slowly and feel for the point where it stops. If it stops halfway, that is usually the seat frame, not the end of the space.
Hold the carrier by its handle and pull it back an inch. Then place your open palm flat on top of the carrier and press down with moderate pressure while you slide it forward. The top panel of a soft-sided carrier is designed to flex. You are not crushing the dog. You are flattening the empty space above the dog back. The carrier will move past the support and settle into the footwell. If you feel it catch again, try turning the carrier slightly so that a corner leads, then straighten it once it is under.
When it is finally in place, look through the mesh before you relax. Poppy should be facing you. If she is not, reach under and rotate the carrier carefully while it is still under the seat. Then stop. I know it is tempting to keep adjusting, but a carrier that slides in once will slide out just as easily, and the crew will notice if you are constantly shoving it. Let the dog rest. The more still you are, the more still she stays.
What Else Helps
Every row is not identical. I book away from bulkhead rows because many bulkheads have no under-seat space or a solid panel that will not open. If you want a window for the view, that is fine, but for you and the dog, a regular row with an open area under the seat matters more. Seat maps show legroom, but they do not show the support box that only appears when you board.
Check the airline pet policy before you check the weather. In the United States, most airlines allow a small dog in a carrier under the seat in front of you during taxi, takeoff, and landing. If you are on a regional flight, read the terms, because some code-share partners use smaller airplanes and stricter personal item rules. I keep a screenshot of the relevant page on my phone, because if something feels off at the gate, it is easier to point to a policy than to argue from memory.
Keep a backup kit in your main bag, not in the carrier. For me that is a small towel, an empty collapsible bowl, and an extra absorbent pad. The towel is for spills, the pad is for accidents, and the bowl stays empty until the plane reaches the gate. The carrier itself should be boring and low. The fewer items you can feel through the fabric, the smoother the fit.
If the carrier genuinely will not fit under the seat you were assigned, do not force it and do not argue with the crew. The right move is to ask whether another seat has more under-seat space, then take the suggestion. A calm request goes much further than insisting when you are in the wrong. I have only needed to switch seats once, and I include that plan in every travel routine because it settles a situation instead of making it worse.
This Is the Carrier I Put Under the Seat on Every Flight
The Henkelion soft-sided carrier is the one I pack for Poppy. It has a low profile when you pack it flat, a mesh window that lets her see me, and a collapsible frame that has slid under the tightest seat I have flown. Use the five steps above, and it will fit under yours too.
Amazon See Today's Price on Amazon →